This guide provides a step-by-step procedure for performing a Forced Vital Capacity (FVC) test using Medikro Spirometry Software with LEMR integration to Best Practice (Bp Premier). Medikro Spirometry Software is compatible with Medikro Primo and Medikro Pro spirometers.
The instructions below are designed for LEMR version 2023.10.9.1642 and later. If instructions for earlier versions are required, please contact LEMR Support.
Note from the manufacturer: Before you begin: A spirometer connected to a PC will start to warm up while USB power is available. This is a normal and general procedure for most high-precision measurement devices.
Before starting the actual measurements or calibration check, it is recommended to allow the spirometer device and calibration syringe to have a brief warm-up period of a minimum of 5 minutes, to reach a thermal equilibrium.
Ensure the Medikro Spirometer device is properly connected to the computer before you begin. Please click here for troubleshooting information if the green light does not appear on the device.
6. LEMR Client will pop up asking to start a test – select Medikro to start the test.
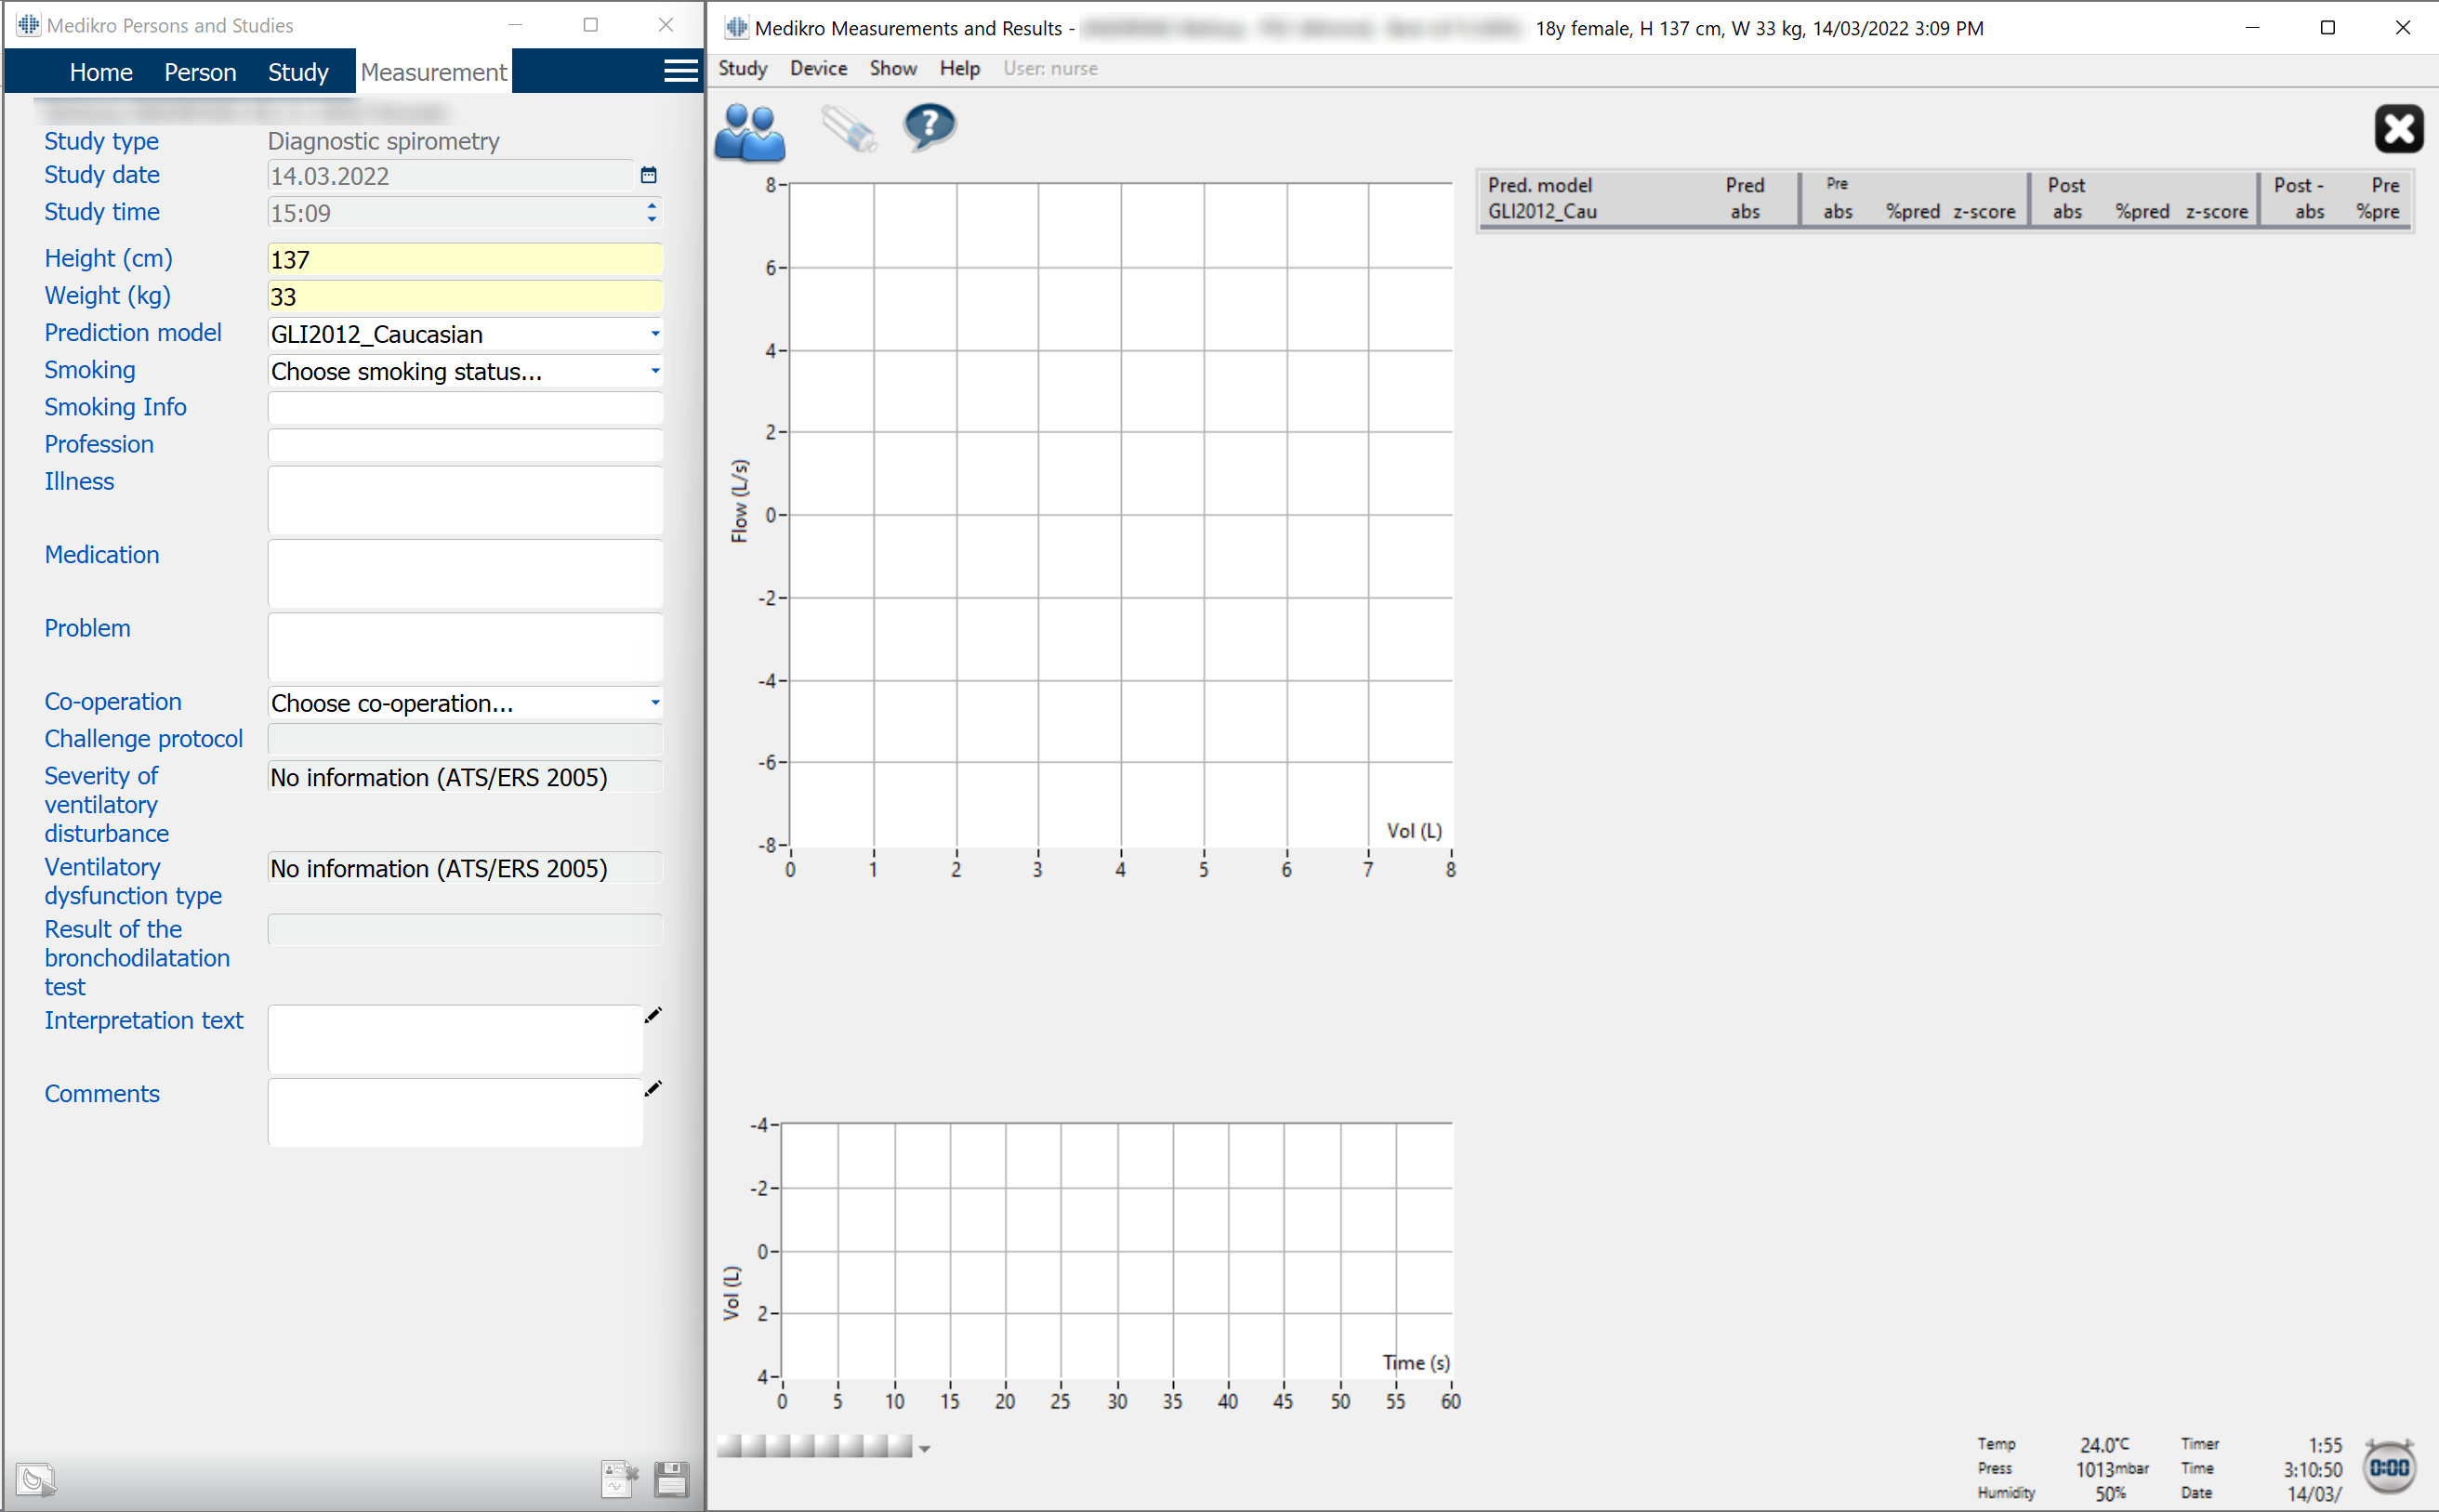
7. Medikro Spirometry Software will now open. If presented with a username prompt, please enter your first name or initials to log in. This is a free text field though what you enter will appear on each PDF report as the technician performing the test.
Patient details will be shown on the left side and the test window will be shown on the right side. Be sure to update any details on the left side window now such as height, weight, prediction model and smoking info.
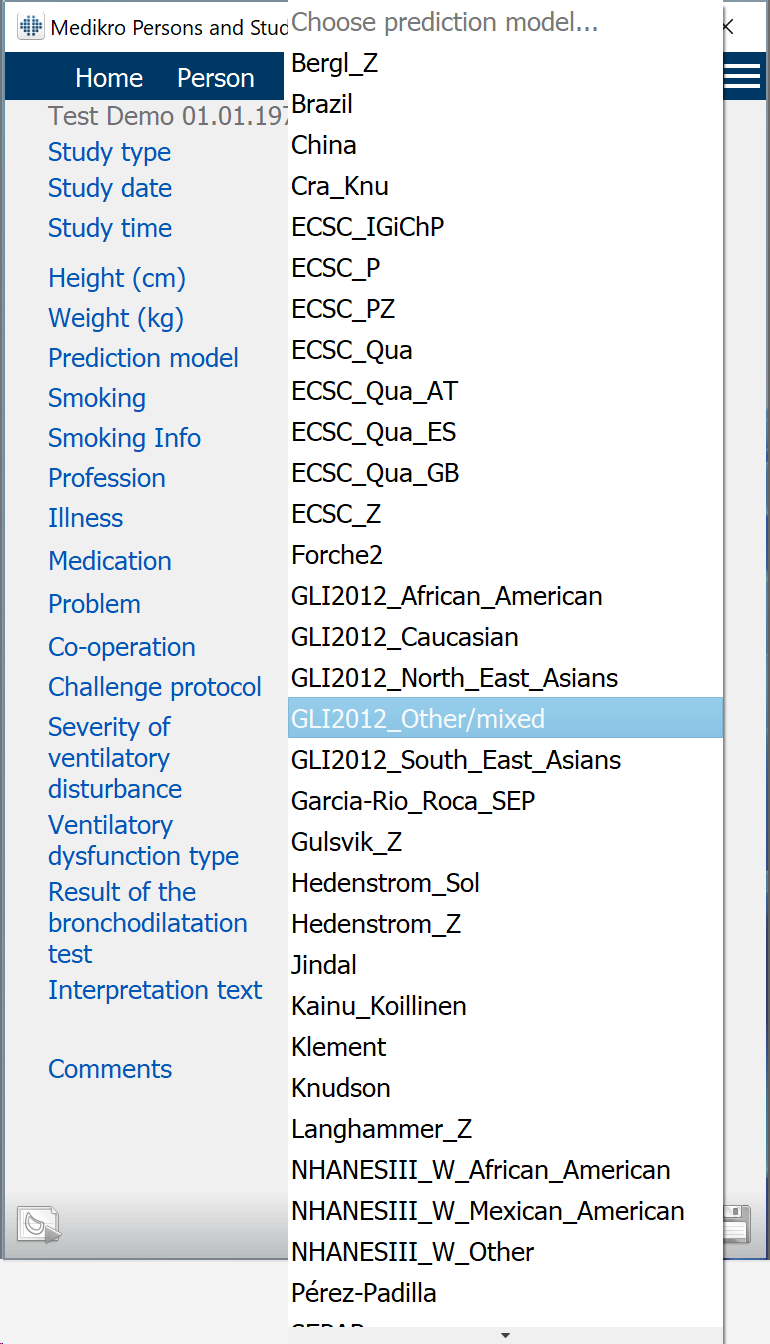
For the prediction model, we recommend using any beginning with GLI2012. Select the GLI2012 prediction model that most closely matches the patient's genetic ancestry.
After updating the information in the Medikro Persons and Studies window (the window on the left), always ensure you click the save button at the lower right side of that window.
Failure to do so before closing the test will mean that data will be missing from the report or the report may not be created at all.
The save button will be coloured when there is something to save; it is important to click this after changing the data in the Medikro Persons and Studies window.
The save button should look like this when there is no new data to save (this is a good thing).
Note: If the buttons to start a spirometry test are not displayed at the bottom of the Measurements and Results window, this may mean that the spirometer is not properly connected to the computer or is not fully detected.
Try reconnecting the spirometer. This guide may be useful for Medikro Spirometer connection issues.
9. Ensure that Pre is selected and then click on the shark fin button to start an expiratory flow test.
Important:DO NOT USE Measure menu > Start at the top of the window to perform a test as this will likely result in missing measurement and report data at the end of testing!
10. You are given 60 seconds to perform the spirometry test. Click Stop when the test has been completed. Ensure the mouthpiece has been removed from the patient's mouth before clicking stop; if the flow reading has not gone back to zero (no air movement), the test result may not be measured! The National Asthma Council has a great video to demonstrate how a patient performs a Spirometry test here. Click here for information about the use of the Medikro mouthpiece and pressure tube. Also, if you are experiencing inverted readings, click here for troubleshooting information.
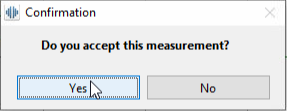
11. If the test was good, click Yes to keep it.
12. Repeat this at least 3 times to meet the reproducibility requirements.
Red text = 2 best tests do not meet the requirements for FVC, FEV1 and/or PEF Black text = 2 best tests meet the requirements for FVC, FEV1 and/or PEF
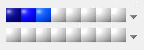
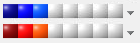
Blue squares = number of pre tests done Red squares = number of post tests done
If this is a pre-only session (e.g. a pre-employment medical) skip to Finish Study
If bronchodilator is required, patient must wait 10–15 minutes then continue to Post Test
If you need to finish the study now, follow the steps to Finish Study then LEMR will upload the report as it is now to Best Practice. This could be for pre-employment medicals, to do other things in BP or test another patient while waiting for the bronchodilator to work, etc.
Later, during the same day, you can resume a Spirometry session to add more tests (such as post tests).
To do this, simply start another Spirometry test from Best Practice on the same computer you had used earlier. LEMR Client will then offer to resume the study then go to Post Test.
15. Click the black square with the white X in it (close study) button at the top right corner and wait a moment until the report is made. After the report pages are processed, both Medikro Spirometry Software windows should automatically close.
16. When the LEMR Client window pops up, the test should be made ready for Best Practice to collect - the test icon will go from an uploading icon to a circled tick.
17. LEMR Server will detect the finished test and automatically import it into Best Practice. The imported test will be stored in Clinical Images. Click OK.