The rubber adaptors provided by default with SpiroScore+ 3L Calibration Syringes are not a great fit for the Medikro mouthpiece. The solution may be to perform this calibration test with a Sureguard Viral Bacterial Filter (or another compatible viral bacterial filter whose end will fit in the rubber calibration syringe fitting) and a Medikro mouthpiece adaptor to connect the mouthpiece to the Viral Bacterial Filter. The Viral Bacterial Filter then connects into the rubber calibration syringe fitting. Examples of the filter and adaptor are as follows; please contact LEMR Support if you need further information about where to get these additional products:
Then the pressure tube is connected to the Spirometer
Then insert the mouthpice into the calibration syringe - make sure this is a tight fit! If air leaks, the calibration check will likely fail
Then connect the pressure tube to the moutpiece
Note from the manufacturer: Before you begin: A spirometer connected to a PC will start to warm up while USB power is available. This is a normal and general procedure for most high-precision measurement devices.
Before starting the actual measurements or calibration check, it is recommended to allow the spirometer device and calibration syringe to have a brief warm-up period of a minimum of 5 minutes, to reach a thermal equilibrium.
Ensure the Medikro Spirometer device is properly connected to the computer before you begin. Please click here for troubleshooting information if the green light does not appear on the device.
You can use LEMR to load a test patient in your EMR then start a LEMR Spirometry test, then skip to Perform the calibration check. LEMR user guides are available here for the process to start a test.
1. Start Medikro Spirometry from the desktop or Start menu.
2. When the Medikro interface loads, it may ask you to sign in. By default this is simply logging who uses the program. You can enter any name in this field.
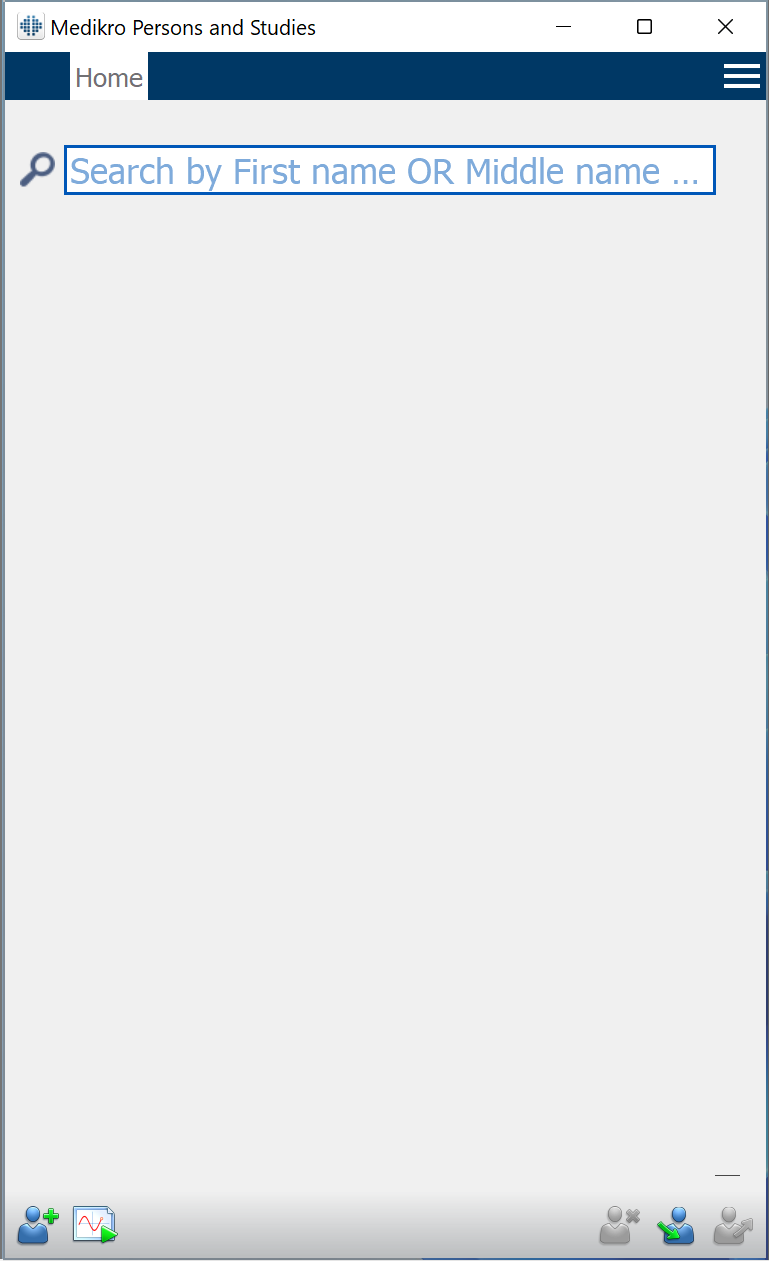
Click the New person button in the lower-left corner.
As we are doing a calibration check, it is best to create a test patient. Enter in the test patient's details. If the Personal ID field is required, create any unique number or text string that identifies the patient (e.g. demotest01011970). Press the Save button in the lower-right corner to save your changes.
1. Press the New study button in the lower-left to create a new study.
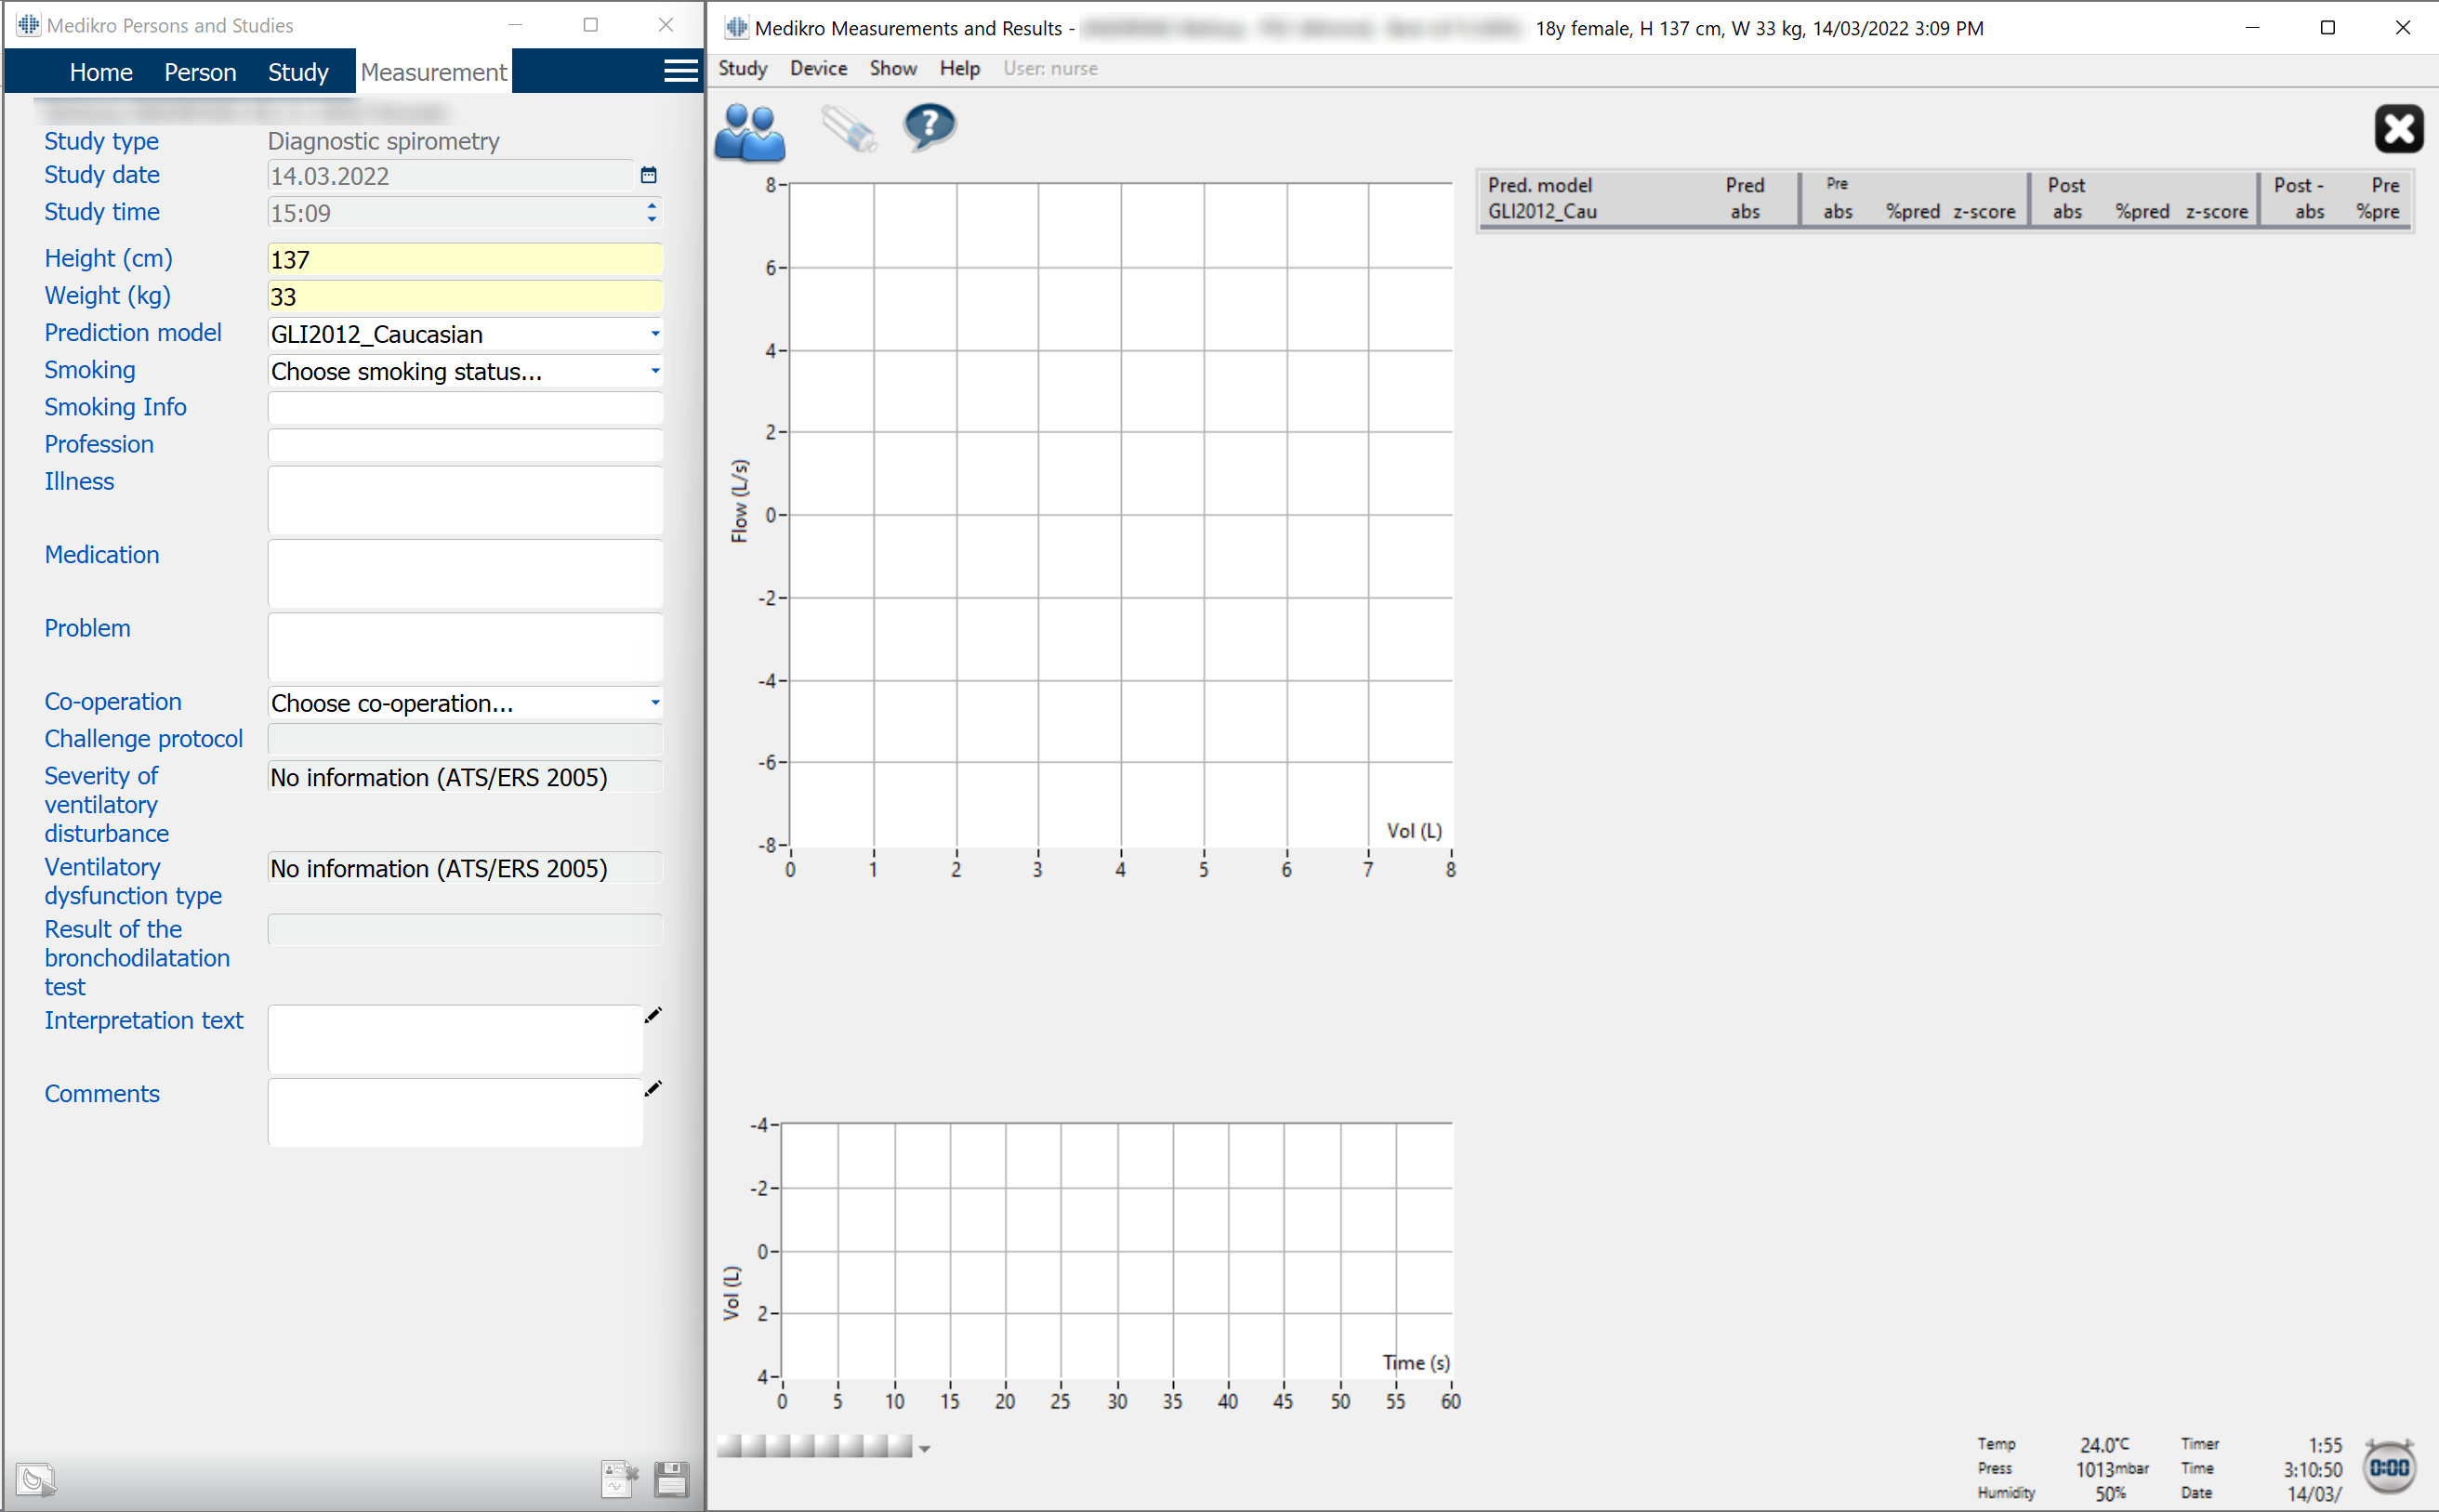
2. Select Diagnostic spirometry as the study type. This only needs to be done if the Duo component is installed, otherwise skip to the next step.
3. The patient's details will now be displayed. Enter a height, weight and choose GLI2012_Other/mixed for the prediction model for the test. Then press the Save button in the lower-right to save the new details.
4. Press the Procceed to measurements and results button in the lower-left to open the testing window.
5. The Measurements and Results window will now open. Patient details will be shown on the left side and the test window will be shown on the right side.
Note: If the buttons to start a spirometry test are not displayed, this means that the spirometer is not properly connected to the computer. Try reconnecting the spirometer.
2. Check the Calibration code matches the mouthpice used for this calibration, ensure your syringe is empty (plunger pushed all the way in) then click on Start Calibration Check (with an empty syringe)
Note: A new Calibration Code should be entered each time a new package of mouthpieces is opened. The Calibration Code may be on the plastic wrapper for individual mouthpieces, or on the box for a large batch of mouthpieces.
3. Follow the instructions provided on the screen, performing 3 or more consecutive fill / empty cycles using a flow rate of about 6L/s (litres per second) then click the Finish Calibration Check button. The program will then show the result of calibration check compared to acceptance limit.
4. When the Medikro software is satisfied that the test is complete, you will receive the calibration feedback.
Unsuccessful calibration check
Successful calibration check
If there is an unsuccessful result, you can try again by going back to step 9. Possible causes of failure could be:
A bad seal around the mouthpice where it connects to the calibration syringe
A fault with the mouthpiece itself or a blockage at the end where the air escapes the mouthpiece
A problem with the pressure tube (the white hose)
A faulty calibration syringe where air is leaking past the plunger