This guide provides a step-by-step procedure for performing an ECG test using QRS Diagnostic / Vectracor Office Medic with LEMR integration to Best Practice (Bp Premier). Office Medic is compatible with the QRS Diagnostic Universal ECG and Vectracor SmartECG devices.
The instructions below are designed for LEMR version 2023.10.9.1642 and later. If instructions for earlier versions are required, please contact LEMR Support.
Start Test
1. Open the patient’s file in Best Practice (Bp Premier).
2. Make sure your ECG device is plugged in to your computer.
3. Make sure the patient’s height and weight information is up to date.

4. Go to the Utilities menu and select Electrocardiogram.

5. Choose a specific LEMR Client computer to start the test on.

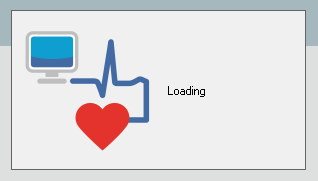
6. While the test is in progress, a window will be displayed over Best Practice. LEMR Client will pop up over the top.

Are you stuck on this test in progress window? If so, please click here for help troubleshooting this issue.
7. LEMR Client will pop up asking to start a test – select Office Medic to start the test.

8. Office Medic will now open.
|
Note: If Office Medic fails to open, please reconnect the ECG. 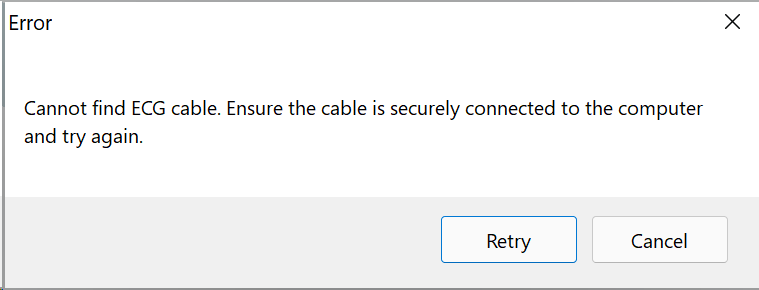 |
9. Connect all patient electrode leads to the patient and ensure you are getting a good reading from all the leads.
If you are having trouble getting a good reading, please review this ECG electrode troubleshooting guide
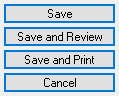
10. Click on the Save button when you have had good ECG data for the last 10 seconds.
11. When the LEMR Client window pops up, the test should be made ready for Best Practice to collect - the test icon will go from an uploading icon to a circled tick.

12. LEMR Server will detect the finished test and automatically import it into Best Practice. The imported test will be stored in Clinical Images. Click OK.

¶ Additional Information
More information about Office Medic can be found on the LEMR Wiki.