This article provides instructions for technical support agents to install the new LEMR update. It may be easier and faster for MSPs and IT providers to install the update for their customers. LEMR customers may contact LEMR Support for assistance updating to the new version.
We continually update LEMR to maintain compatibility with your medical devices and electronic medical record system. Usually LEMR updates are delivered automatically. If a LEMR Support Technician has sent you this article, then they have identified that you need to manually update to the latest version of LEMR.
¶ Manual update required for old versions, VDI infrastructure and Zero Trust security solutions such as ThreatLocker
All versions of LEMR prior to 2023.5.9.1112 will need to be manually updated. VDI infrastructure involving master images will also need LEMR updated on the master image and pushed out to clients overnight. In the case of ThreatLocker and other Zero Trust security solutions, we have found that the update applications are blocked from executing so learning/whitelisting mode will need to be enabled and the installation of the LEMR update installed manually.
The update will need to be performed on each computer that LEMR is installed on. This will likely include each of the clinic's treatment room computers. If the clinic uses remote desktop to access Best Practice on a terminal server, then LEMR Server will also need to be updated on the terminal server.
The instructions for updating are the same, whether updating a workstation or terminal server. The installer will update the software with the same configuration that was previously installed.You should not modify any settings while running the installer. The following instructions explain each step in detail.
This download is intended for current LEMR customers. Users will need an active LEMR subscription to use the LEMR software. If you are not yet a LEMR customer, please contact LEMR Support to sign up.
2. Run the installer. You will need administrator privileges to run the installer.
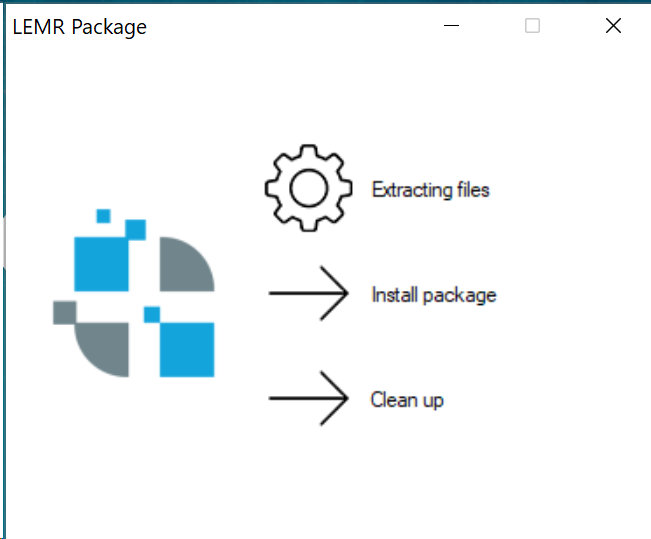
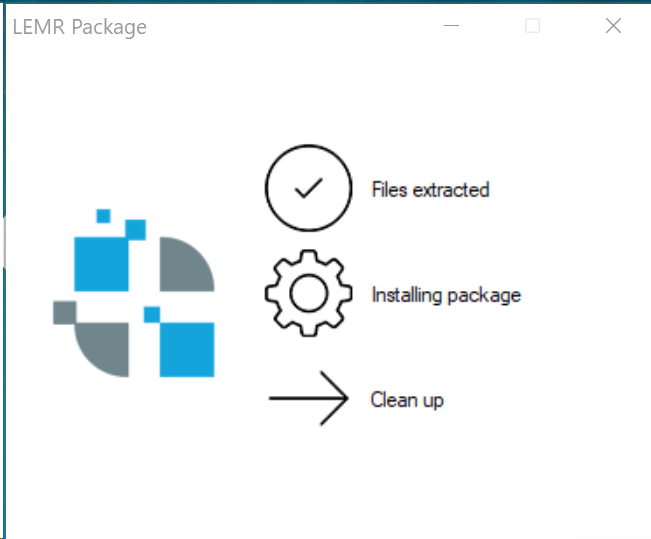
The installer may take a moment to unpack. Please be patient. Windows may think that it is “not responding”, but just wait a moment.
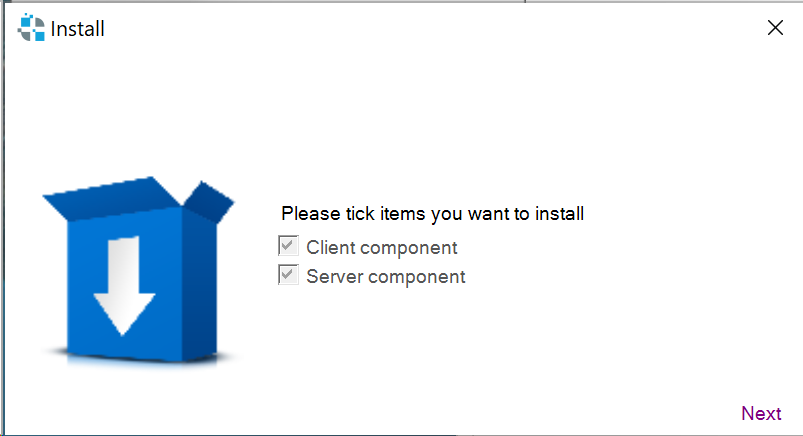
3. The installer will indicate whether it is installing the Client component, Server component, or both. The selected component(s) will be based on what was previously installed. Do not change the options on this step. Click Next to continue.
Client component is for a workstation where tests are performed.
Server component interfaces with Best Practice.
Workstations with a local install of Best Practice will have both Client & Server.
Terminal servers should have only Server component selected. Do not install LEMR Client on a terminal server.LEMR Client cannot run under multiple users at the same time, and an error message will be displayed.
If the clinic uses MedicalDirector, then the LEMR Sidebar is already up-to-date. Only the LEMR Clients will require updates.
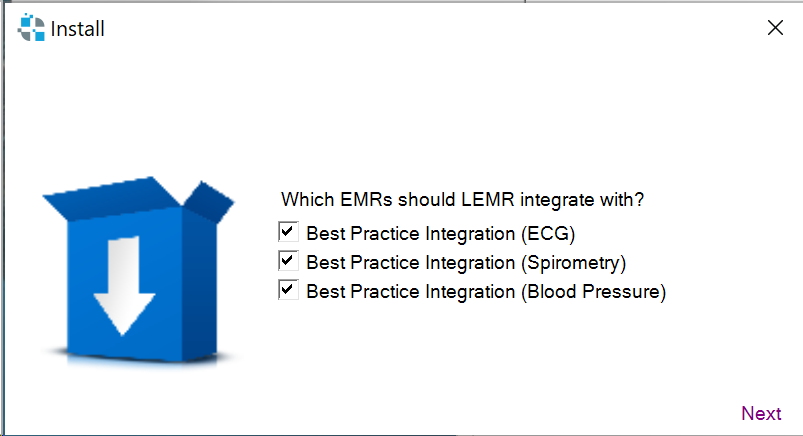
4. If the Server component is installed, the installer will ask you to confirm which integrations to use with Best Practice. This dialog will have boxes ticked that match the previous configuration. You do not need to modify this selection. Click Next to continue.
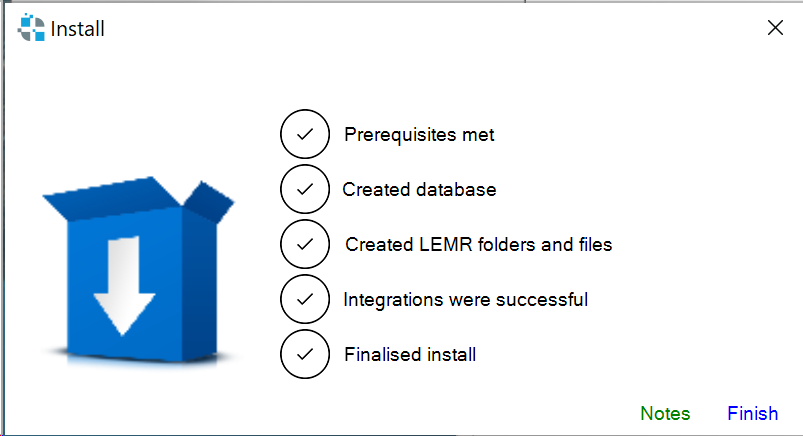
5. The installer will now complete.
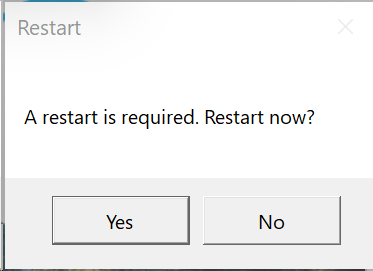
6. The installer may ask you to restart the computer. We recommend that you restart the computer, but it is not strictly necessary.
The update is now complete!
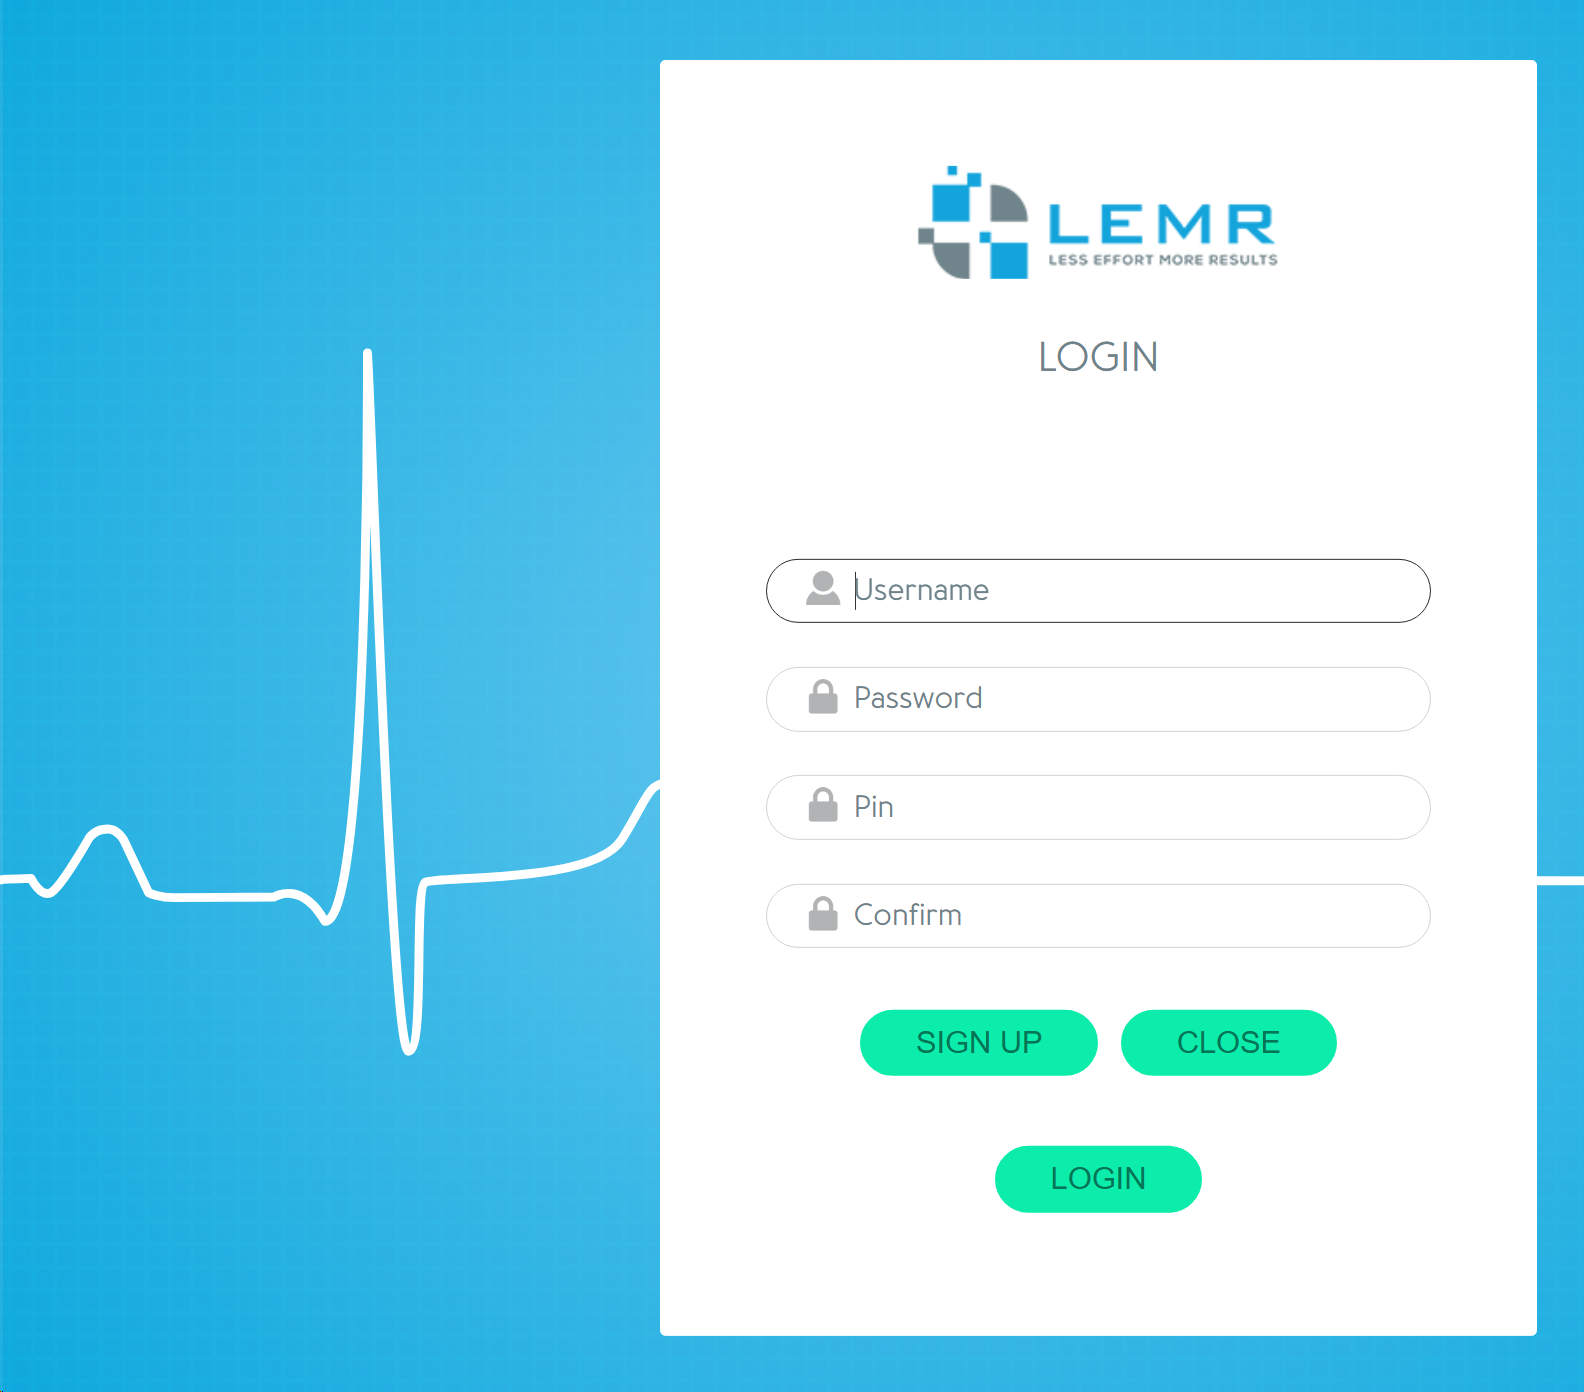
On workstations with LEMR Client, after the installer has completed (or the computer has restarted), LEMR Client will start up again. LEMR Client should retain the previous user details, login should not be required.
If LEMR Client prompts for the user to log in, please contact LEMR Support.
Need Help? LEMR customers can get help by contacting LEMR Support.